Annual testing of Cospas-Sarsat EPIRB by Futronic Test Box
Today we will perform the annual testing of Cospas-Sarsat EPIRB as it is required by SOLAS convention. The volume and order of the tests are described in IMO Circular 1040 and we will follow it.
Visual inspection
First of all we need to carry out the visual inspection of EPIRB to be sure it has no damages, check the lanyard firmly attached and not tied. Then we need to perform the SELF-TEST routine as required to be sure the beacon is operable. We press the test button and wait for signal:
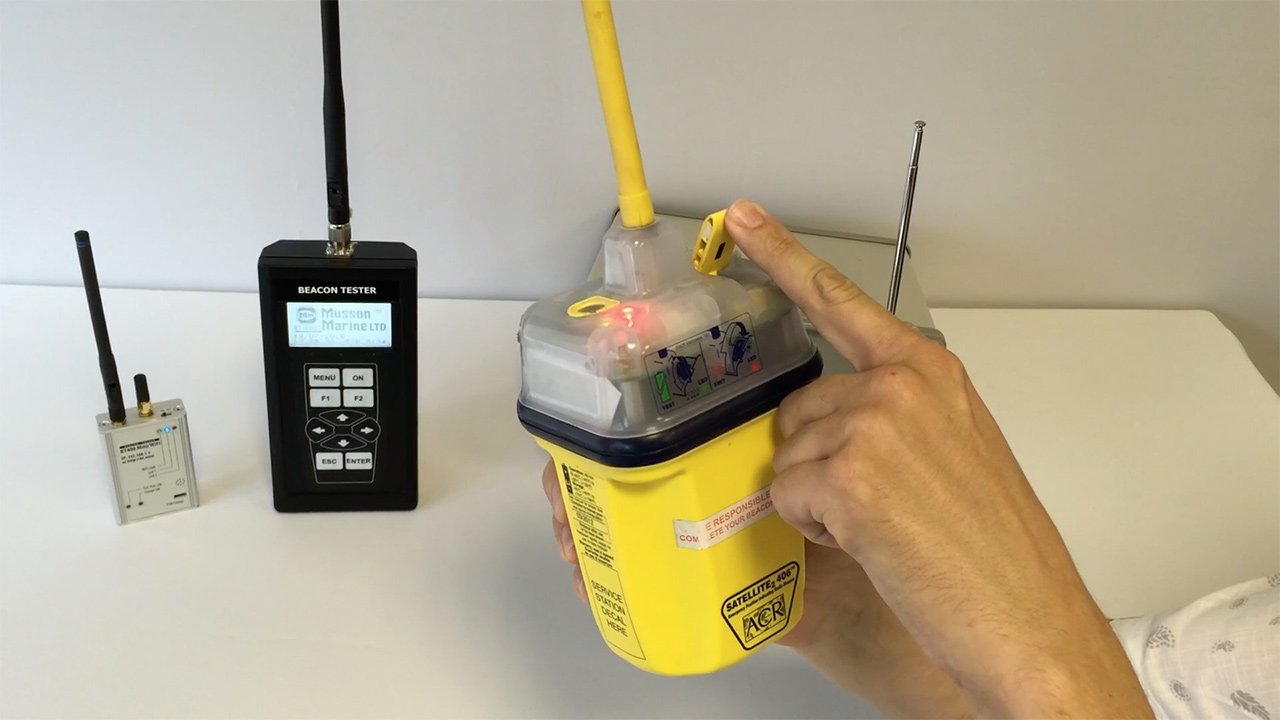
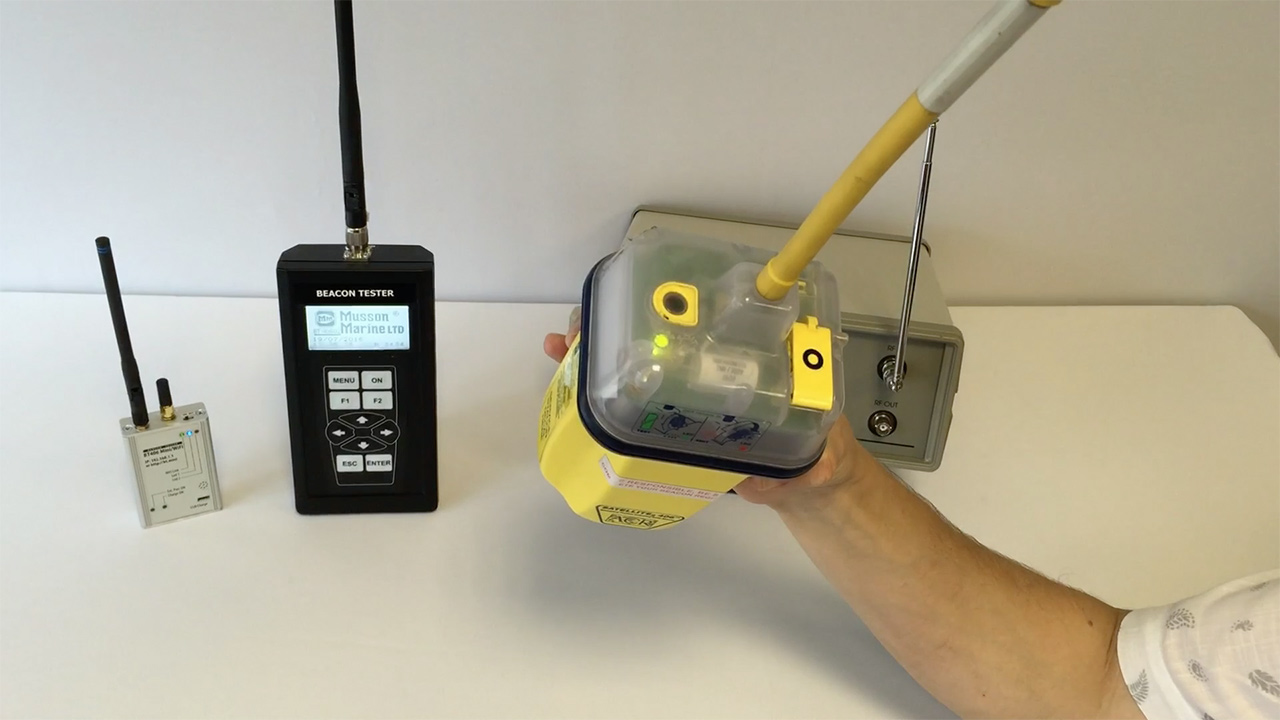
First of all we need to carry out the visual inspection of EPIRB to be sure it has no damages, check the lanyard firmly attached and not tied. Then we need to perform the SELF-TEST routine as required to be sure the beacon is operable. We press the test button and wait for signal:
We see it indicates it’s ok. But we will check it.
Test instruments
We need to perform electrical tests to confirm the EPIRB is operational as defined in appropriate performance standards. And for these purposes we require the suitable test equipment - EPIRB Tester.
Fortunately, we have 3 testers today: Futronic made by Danphone, and two testers made by Musson Marine Ltd: Beacon Tester and Beacon Tester Mini.
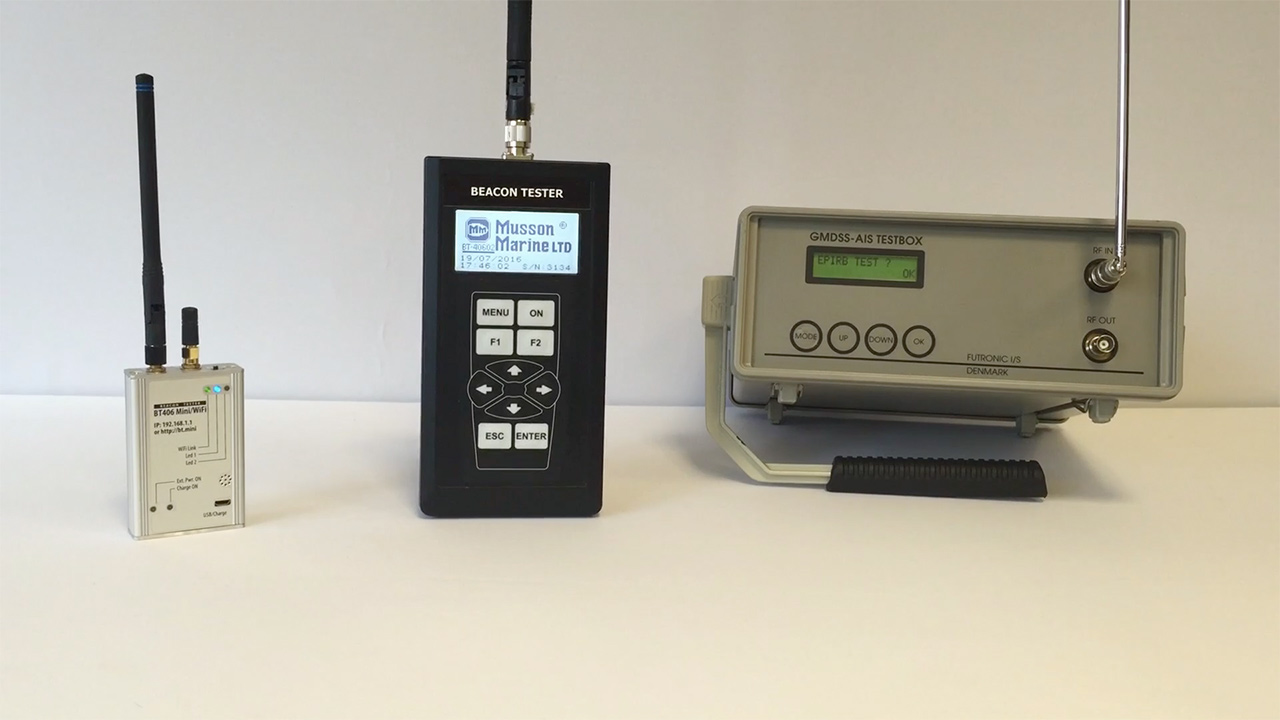
The task is to measure the frequency, power level and decode Cospas-Sarsat message content.
Start testing
First of all lets turn on all of our testers and switch them to proper test mode.
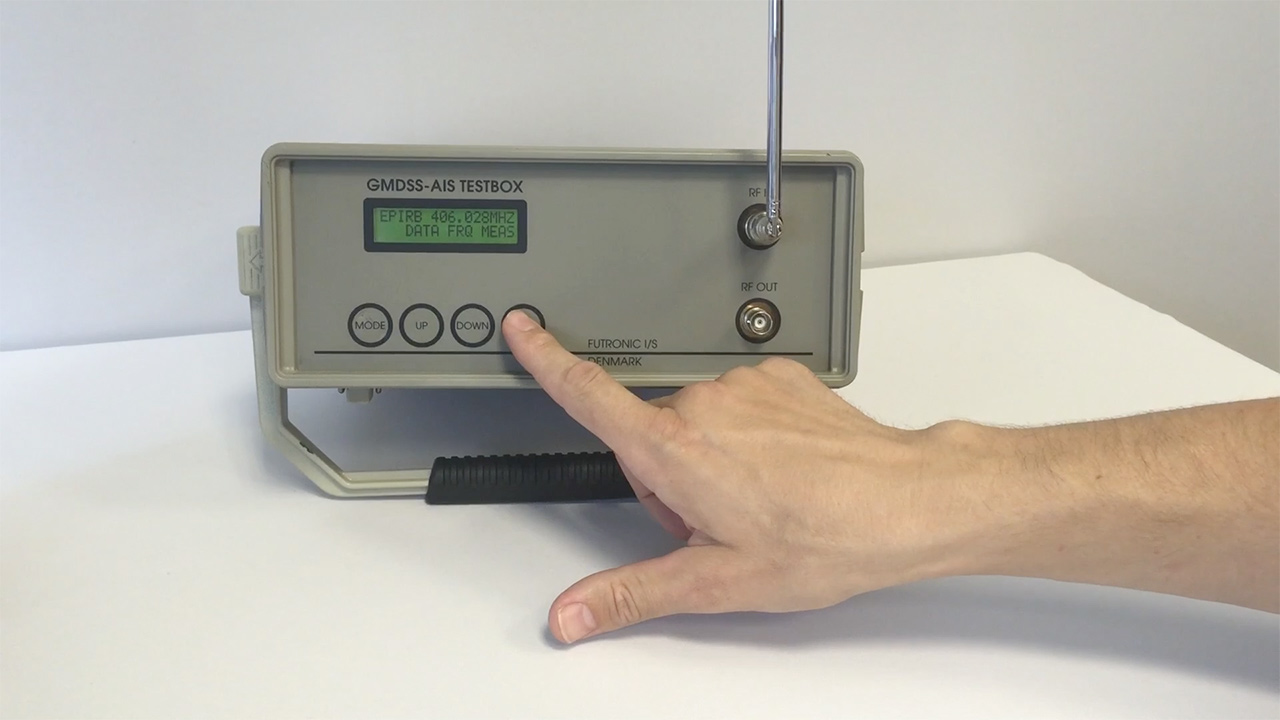
Ok, let’s start with Futronic. We need to go the EPIRB TEST menu, select the proper frequency.
OK, now it’s ready to perform tests.
Let’s do the same with Beacon Tester of Musson Marine. We are going to test menu, select by antenna, then proper channel. Ok, it’s ready too.
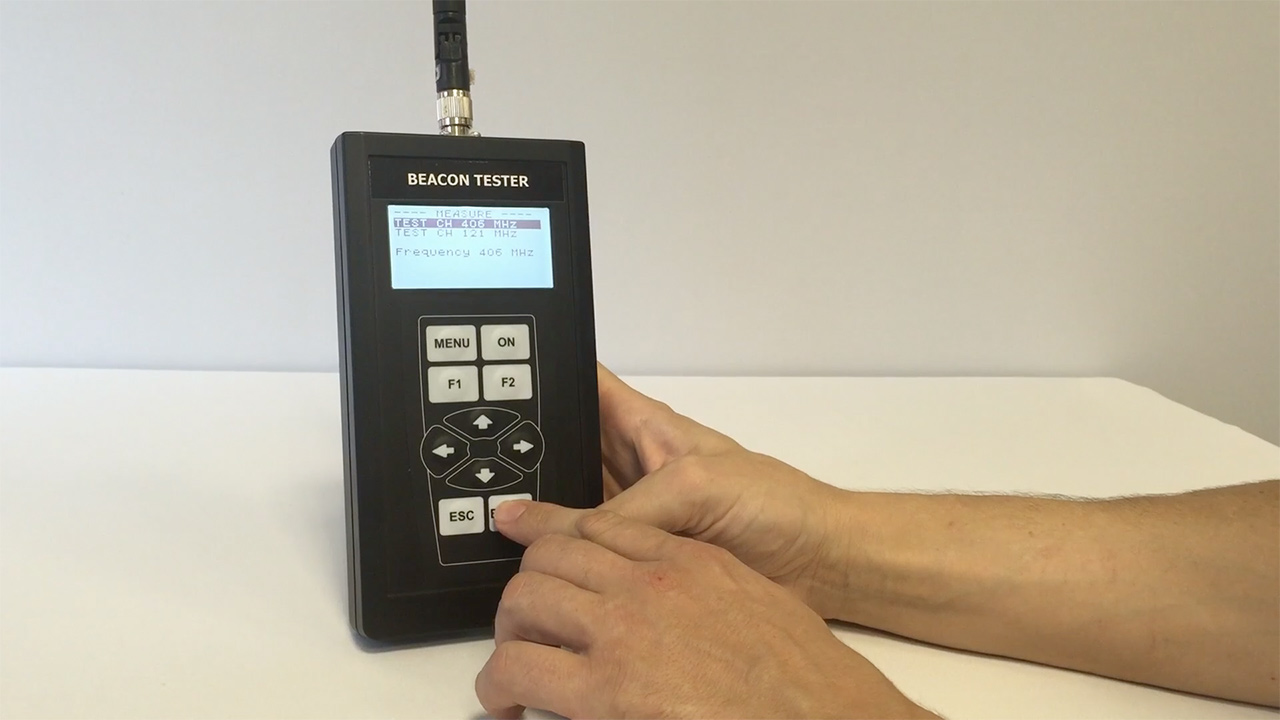
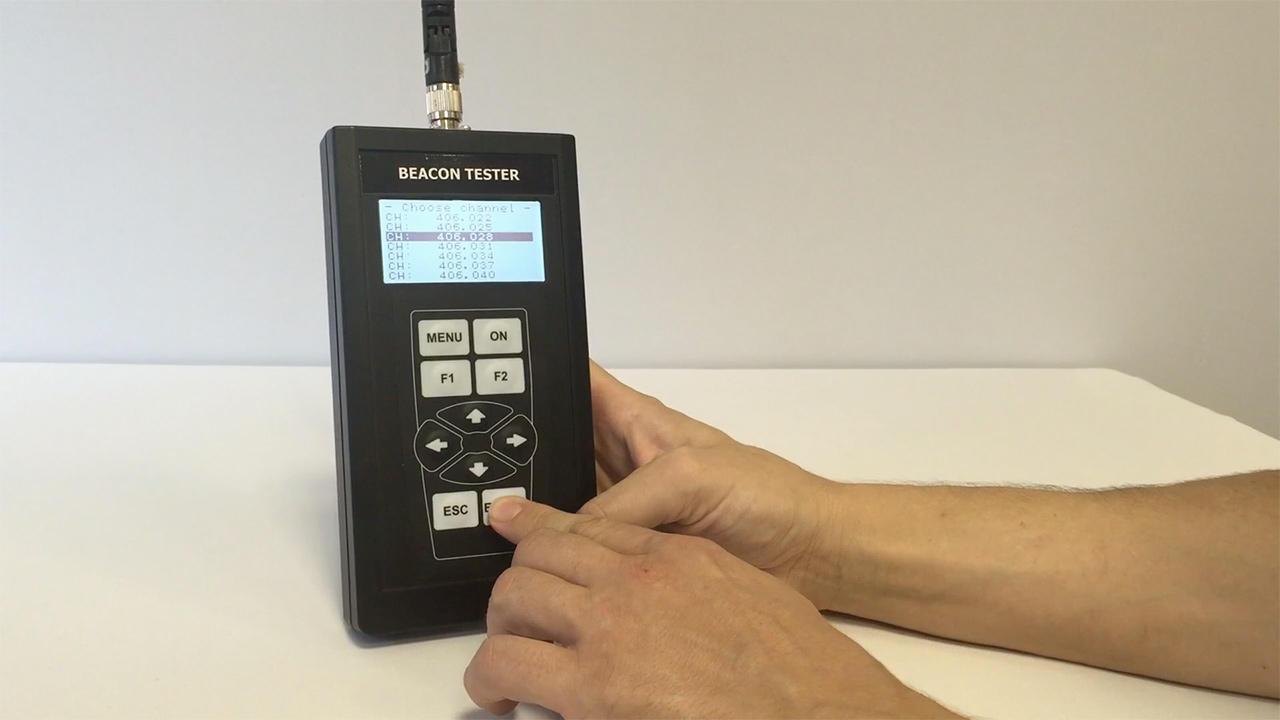
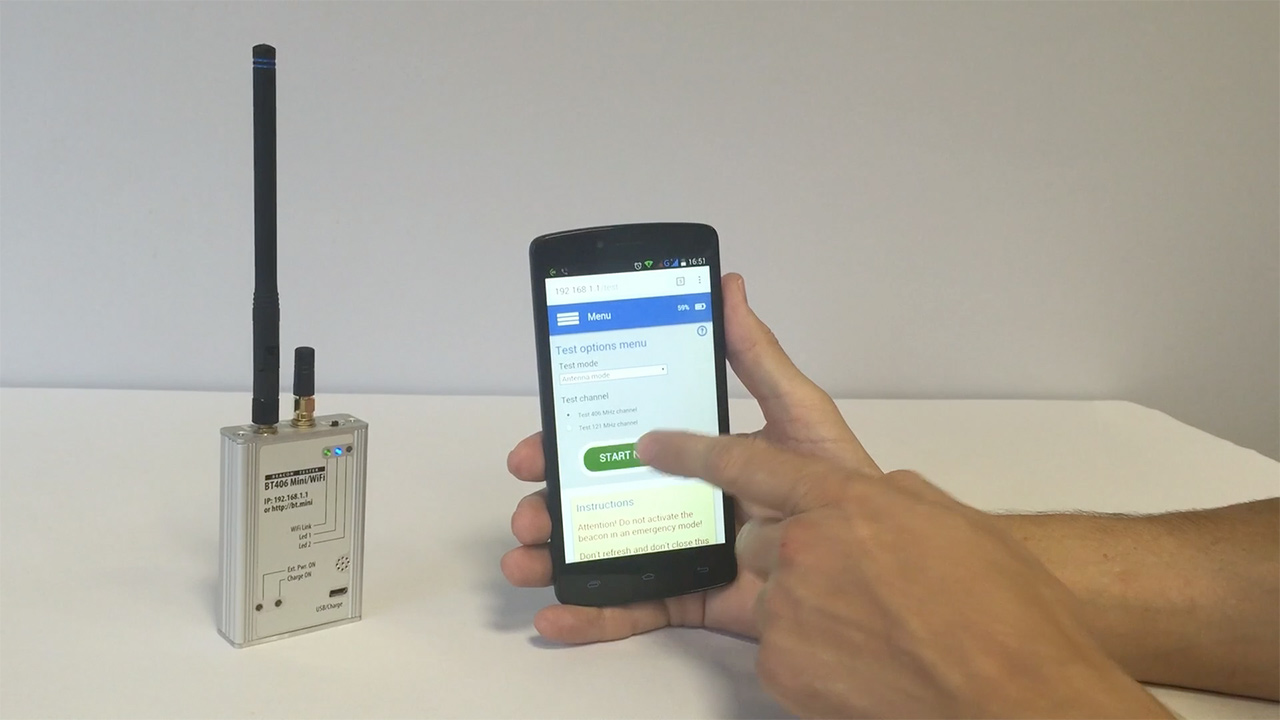
Finally, let’s turn On the Beacon Tester Mini. We need to select Press Perform tests menu and just press START NEW TEST button. Ok.
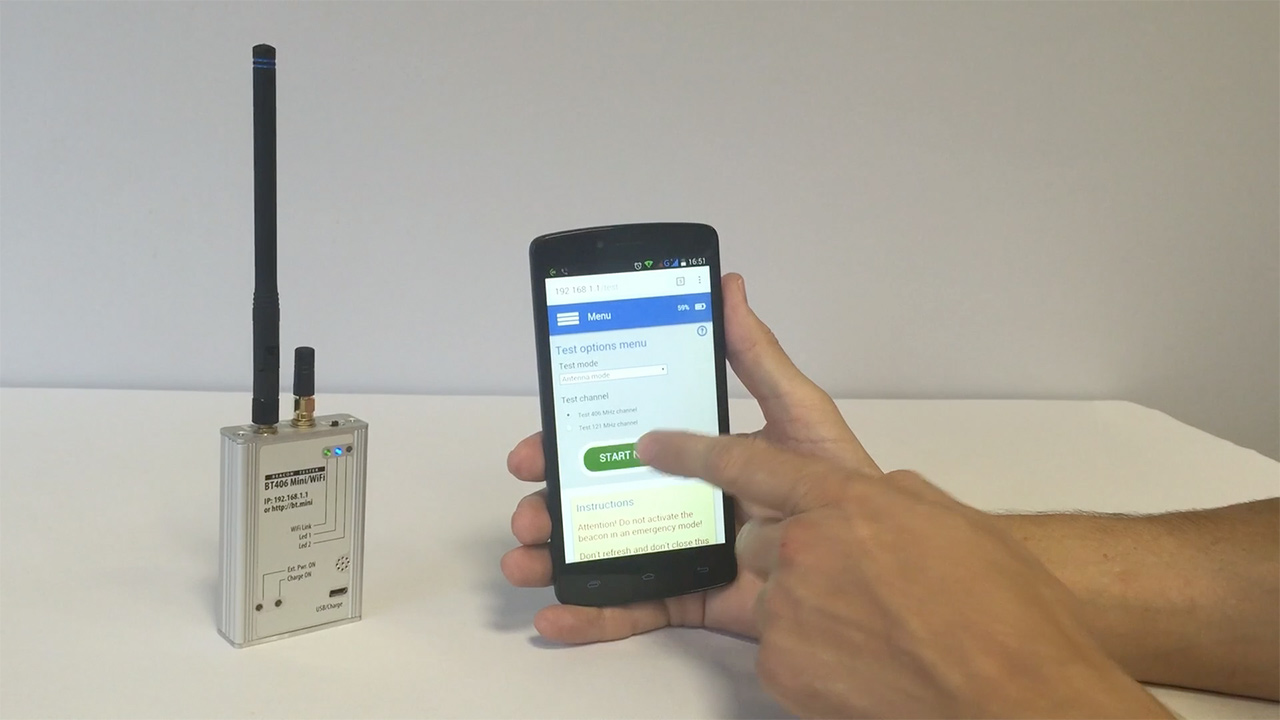
All our testers are ready for the measurements. Now we need to take the beacon and turn it on to emit the signal.
We placed the EPIRB on recommended distance of 1-5 meters. Now we take the beacon and turn it to the SELF-TEST Mode what is strongly recommended for testing purposes.
And now we are waiting for its signal. Here we are. We see that all 3 testers received the signal successfully.
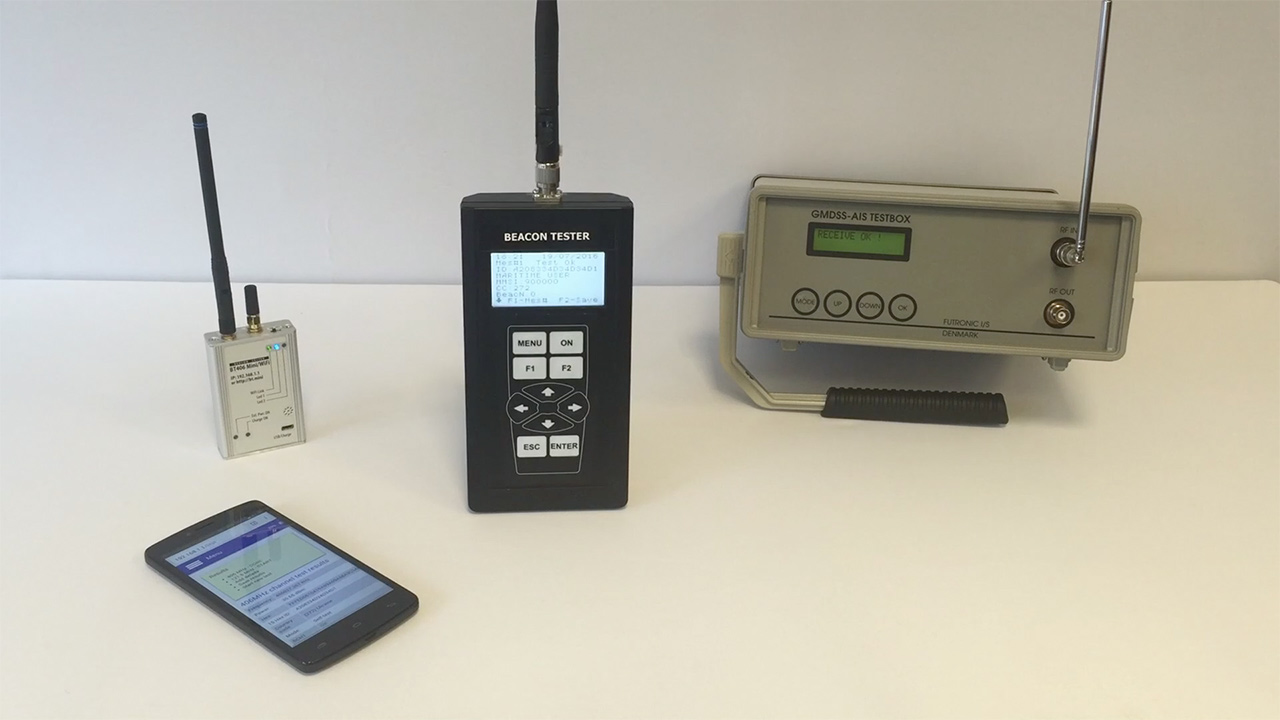
Lets check the results
Futronic test results
Lets check Futronic for the decoded and measured data. Here are:
- Frequency and power level
- 15 Hex beacon identifier
- Country code and message type
- Protocol type
- MMSI Code, and beacon number on the vessel
- The homing device is present
- And additional data
Beacon Tester results
Now lets check the BEACON Tester results. We see the decoded data of Cospas-Sarsat message:
- Beacon Hex ID
- Protocol type
- MMSI Code
- Country Code
- Beacon number on the vessel
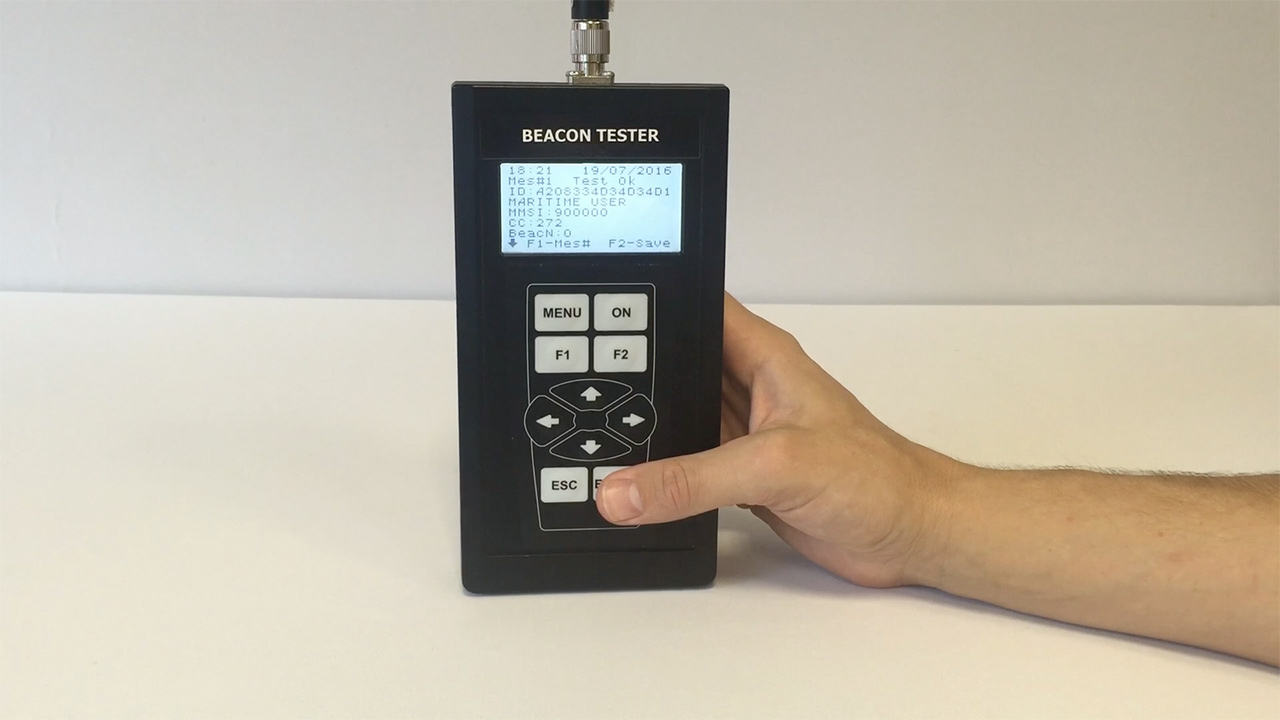
Lets check the electrical data:
- Power level in dBm
- Frequency in kHz
- Complete message content in HEX format
- Phase meanings
- Time of preamble
- Total time of transmission
Beacon Tester Mini test results
Finally lets see what we have on Beacon Tester Mini:
- Frequency in kHz
- Power level in dBm
- Complete message content in HEX format
- Country Code
- EPIRB operation mode
- BCH Code verified
- Message format
- Protocol type
- MMSI Code
- Homing channel present
- Time of preamble and total transmission time
Homing channel test
Now we have enough data about Cospas-Sarsat channel, but lets check the homing channel. Lets switch the testers to proper test mode.
Lets turn the EPIRB on to test mode.
Lets check the results. We see the measured frequency and power levels of homing signal on all three testers.
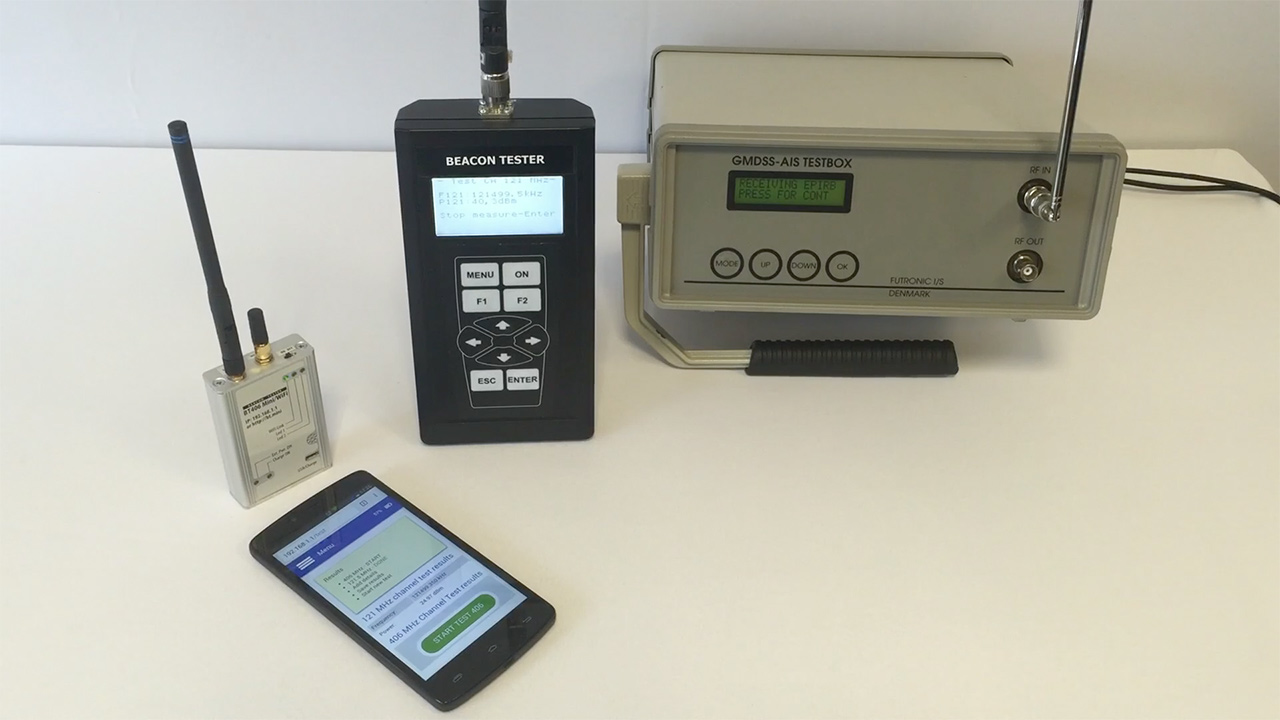
Also we hear audio confirmation of Homing channel presence.
Battery and HRU checking
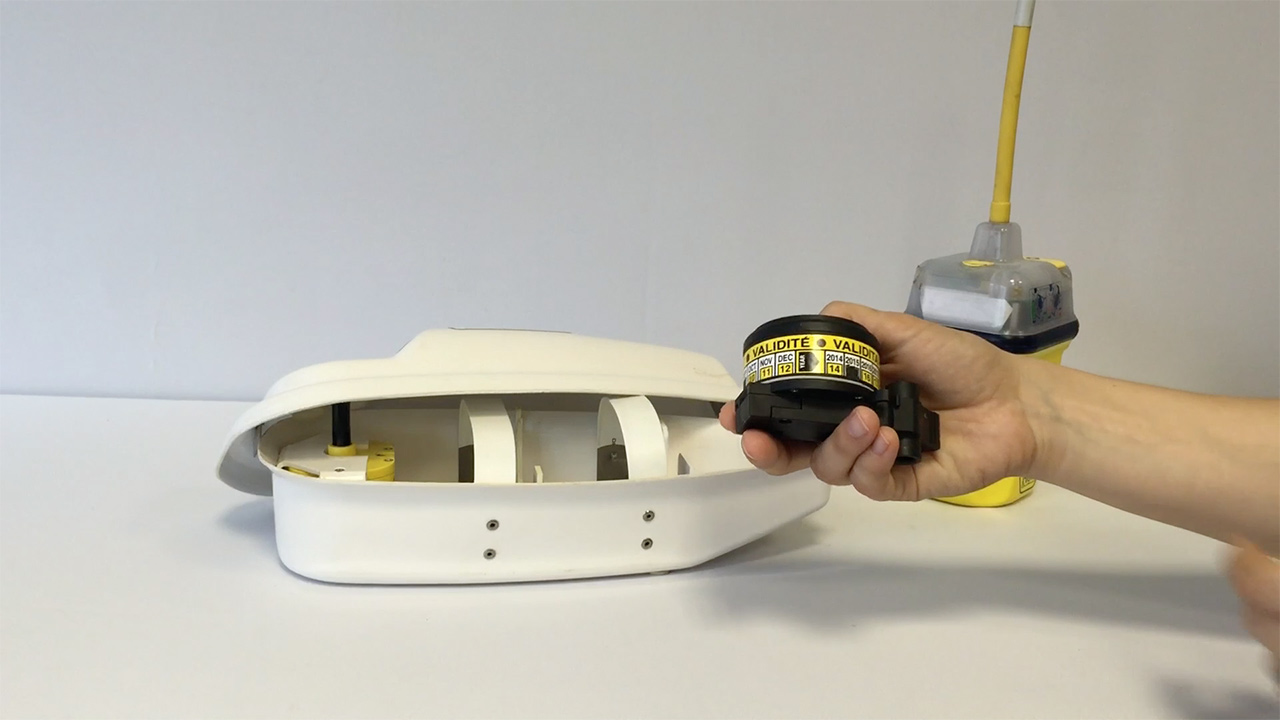
At the end do not forget to check the battery expiration date and replace if necessary.
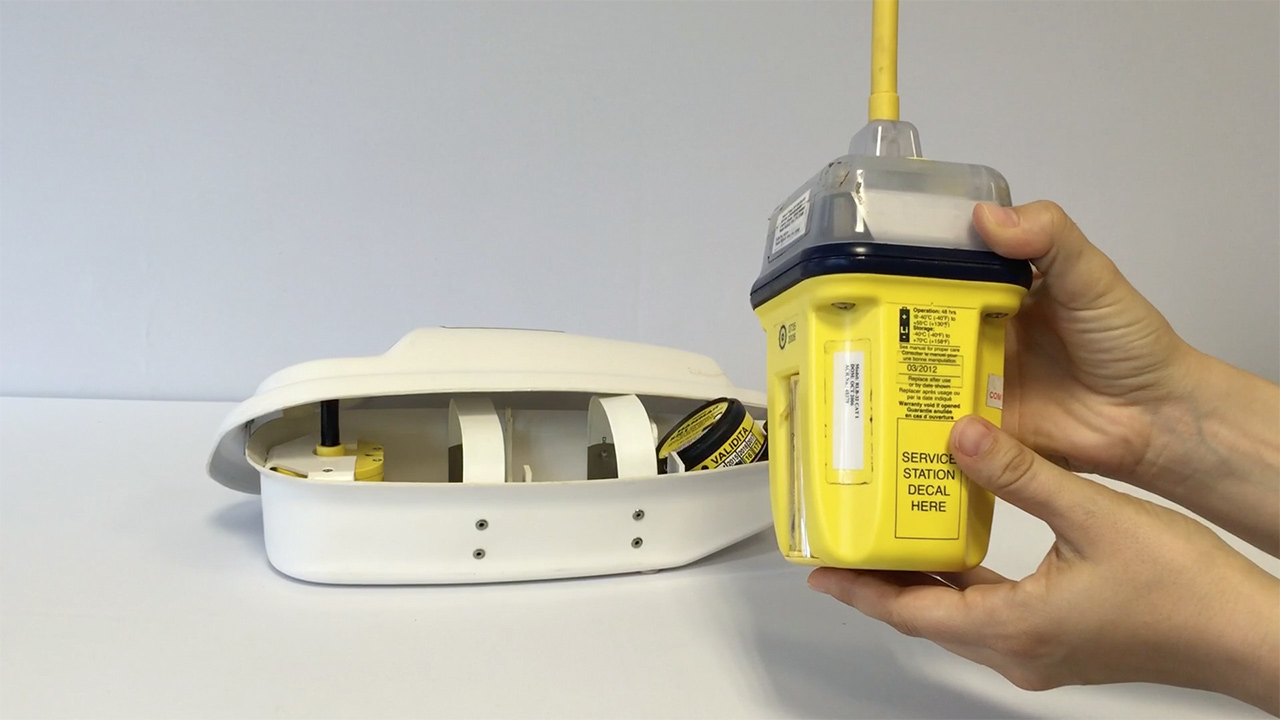
Also, check the expiration date of hydrostatic release unit and replace if necessary.
Test results
We think we have enough data required to create test reports to confirm the EPIRB passed the annual test and can be used in emergency situation.
BEACON Tester test report
Let’s create the test report by BEACON Tester of Musson Marine.
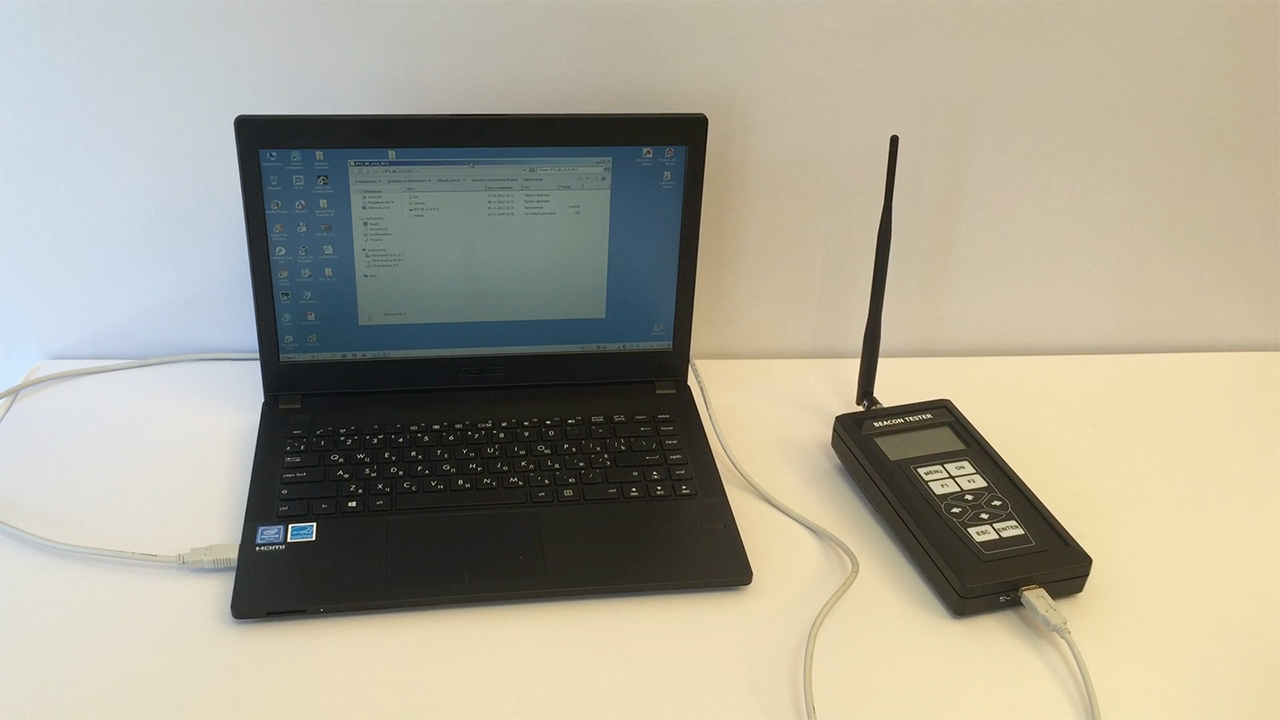
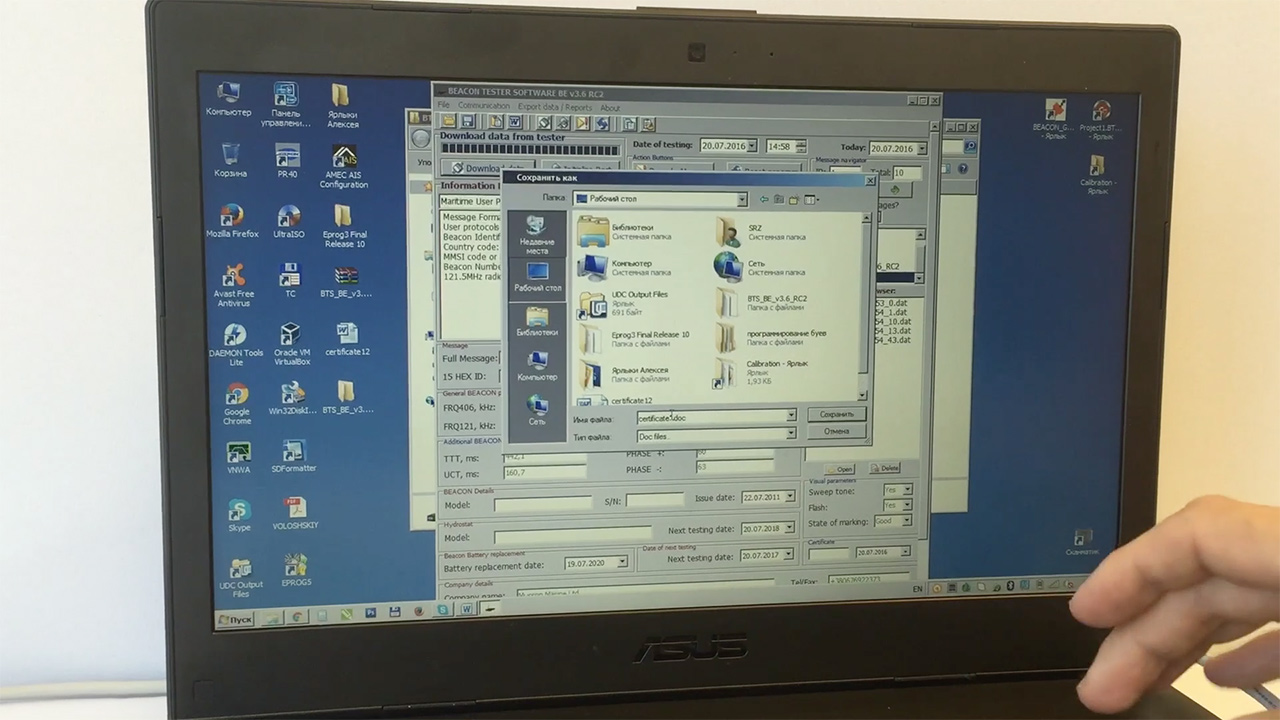
To do so we need to connect it to PC by means of USB; then to run the software.
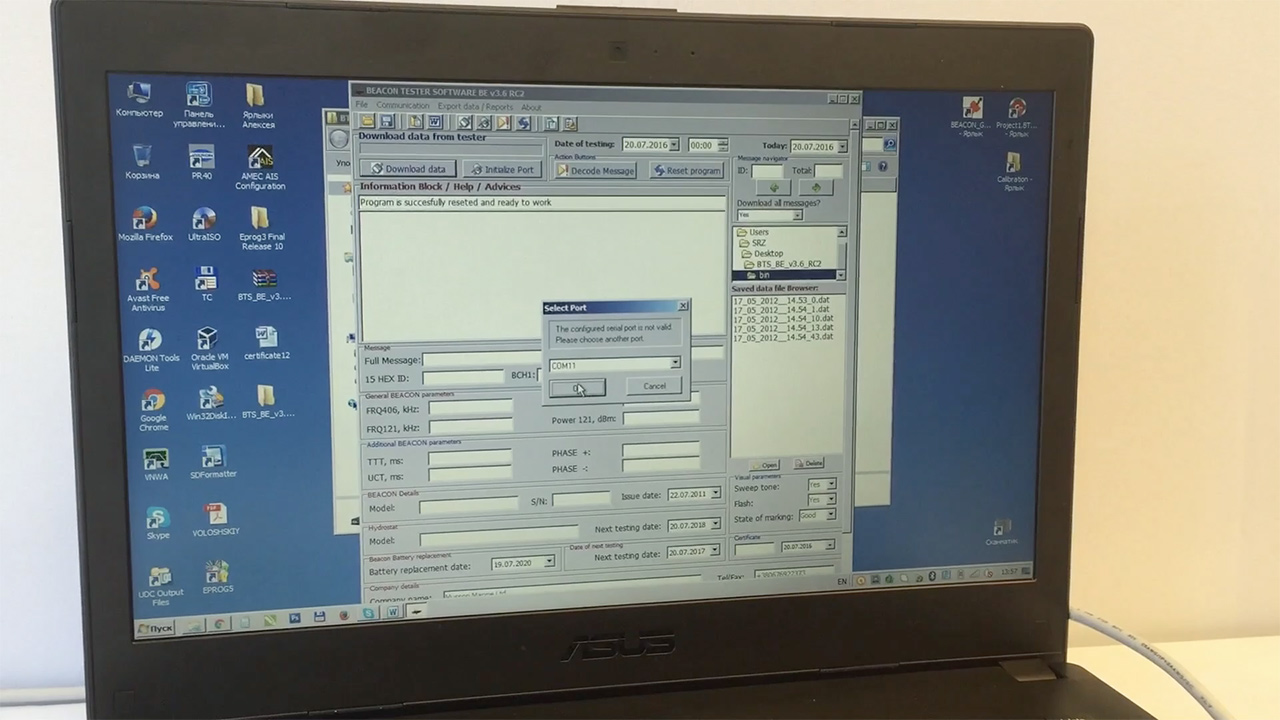
Then we need to download the data from the Tester. Ok. We see the tests results we have measured previously:
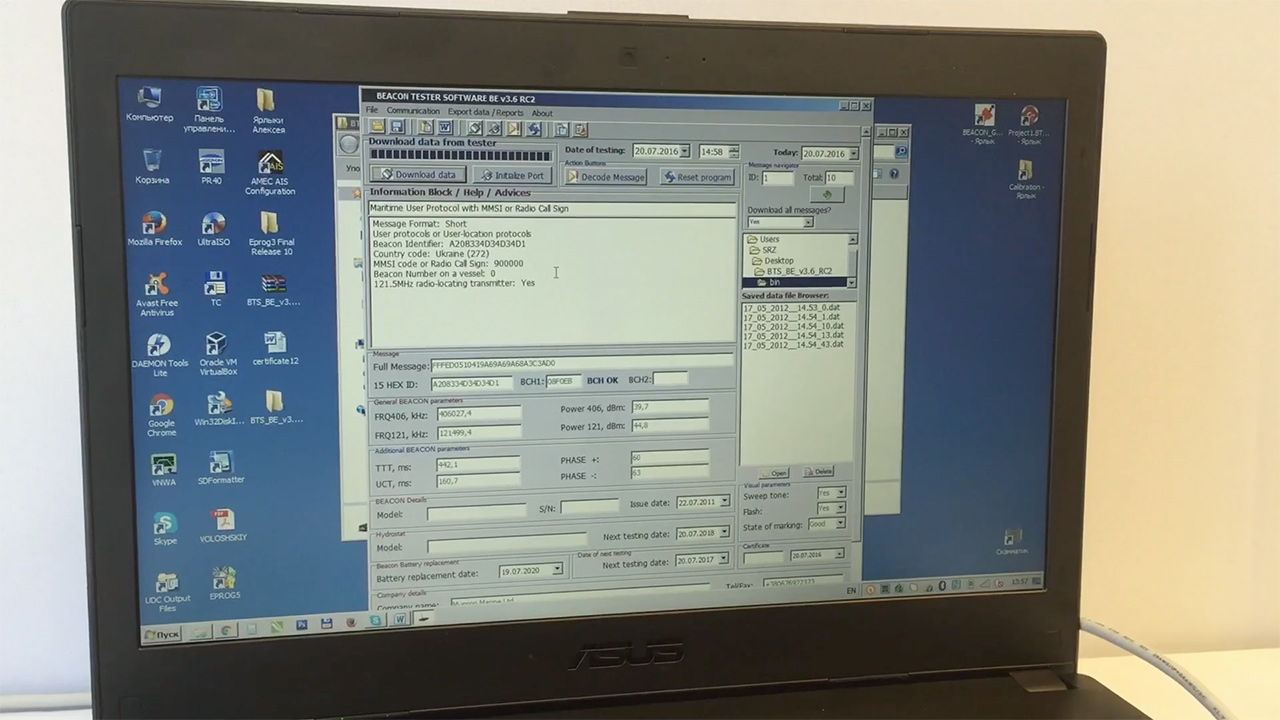
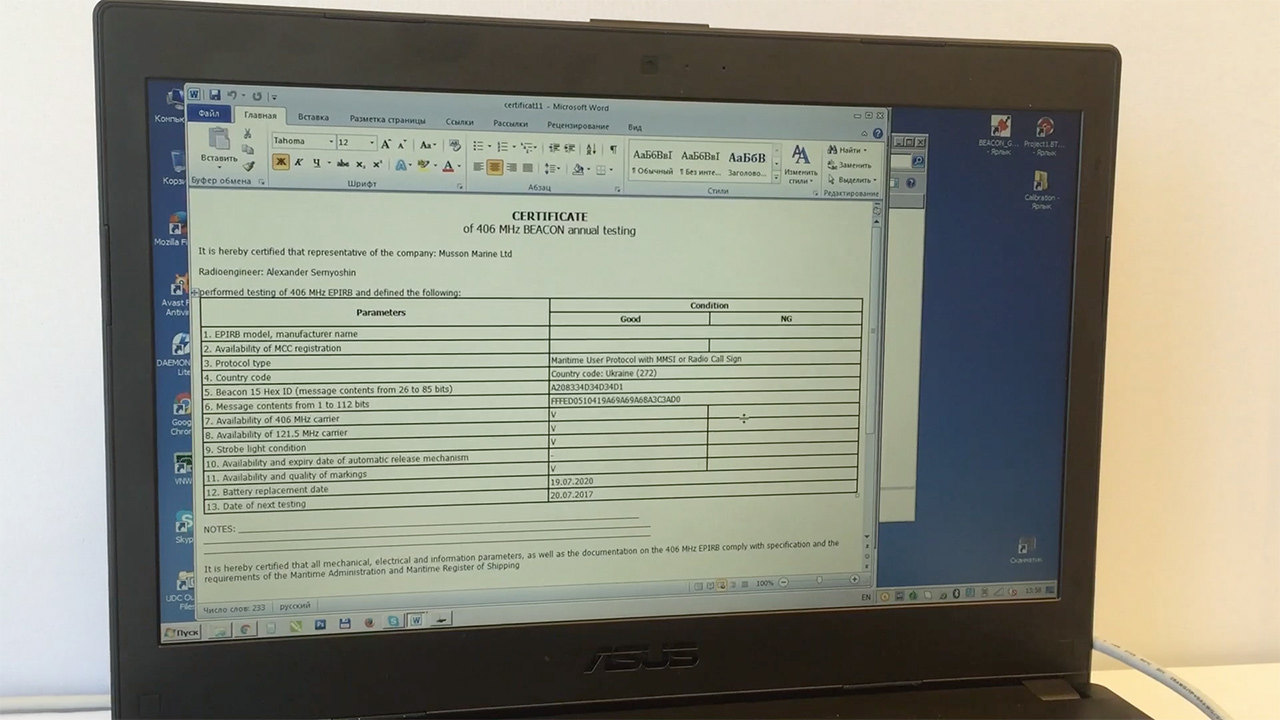
And further action is to create the certificate of 406MHz EPIRB annual testing. Just name the file and save it on your PC.
Futronic test reports
Unfortunately having tried for a long time and applying much efforts, we failed to connect the Futronic Tester to a computer. As we have too old version that needs to be updated and we cannot do it. So the test report has to be made by hands.
Beacon Tester Mini Test reports
Now let’s proceed with Beacon Tester Mini. It’s very easy to create the test report and we can do it on the fly, as connection to PC is not required.
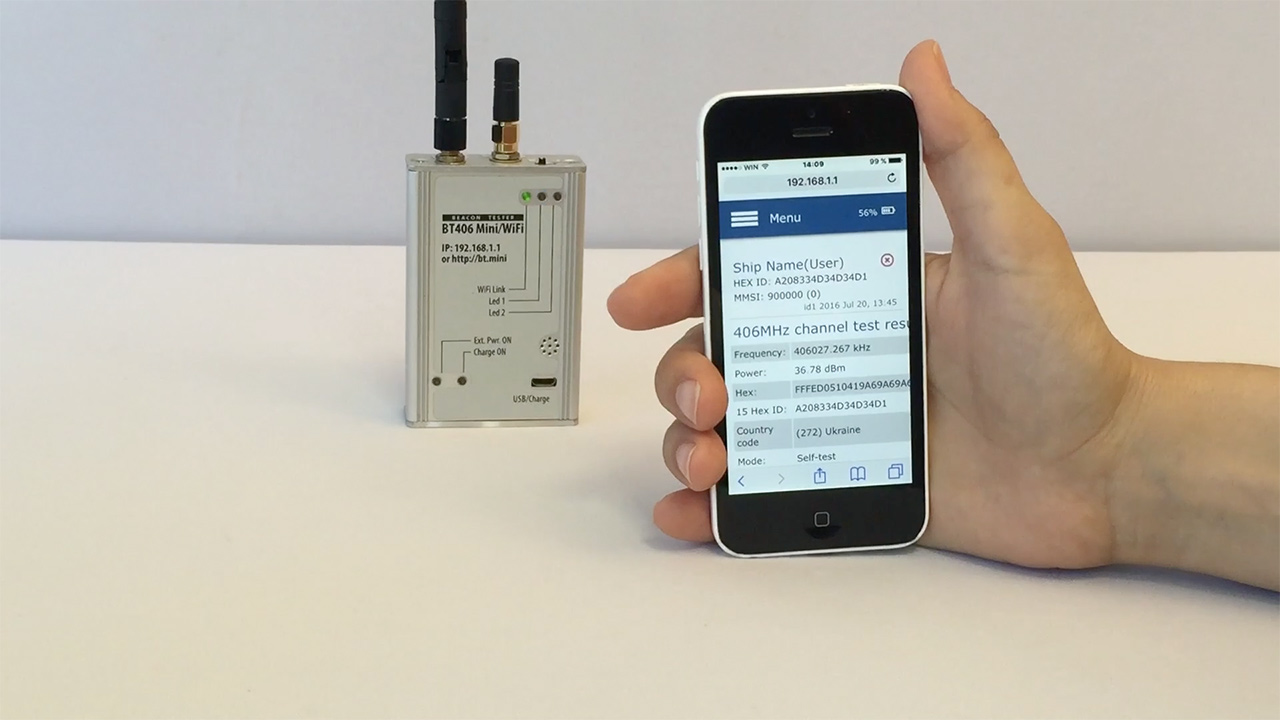
Just complete the fields with vessel name, state the battery and hydrostatic release unit replacement dates and press Annual test Report.
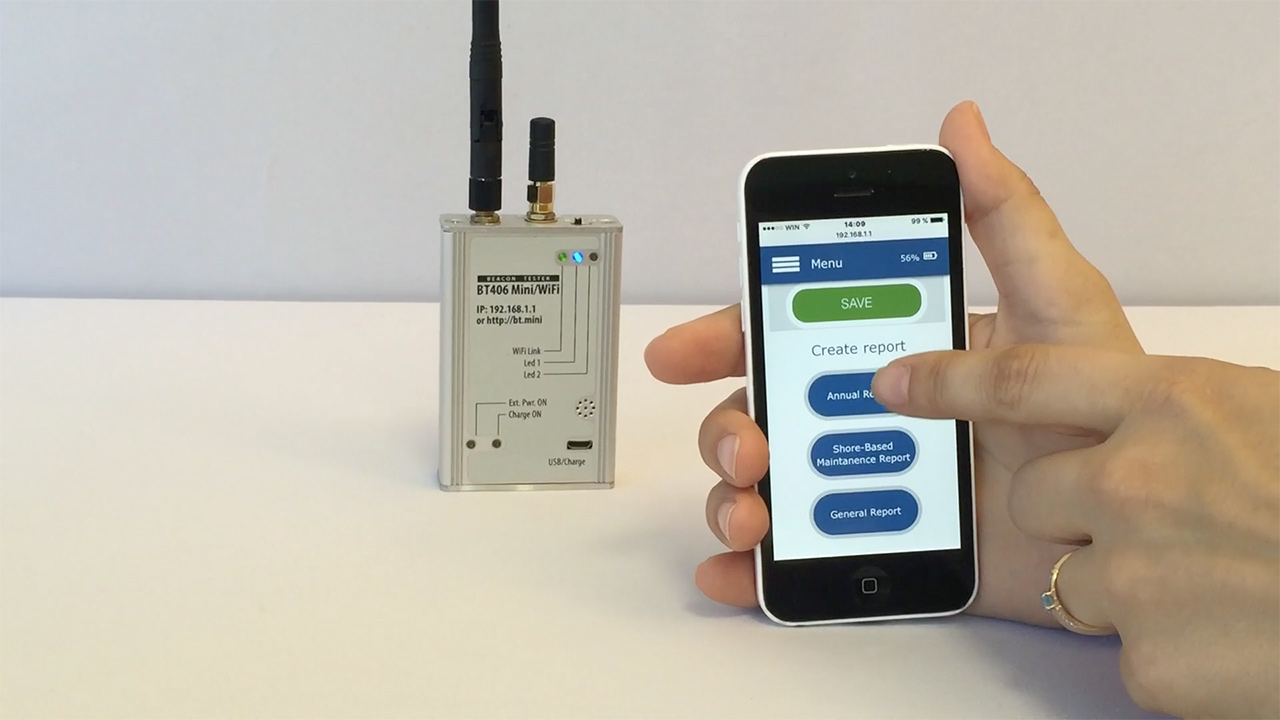
Here it is:
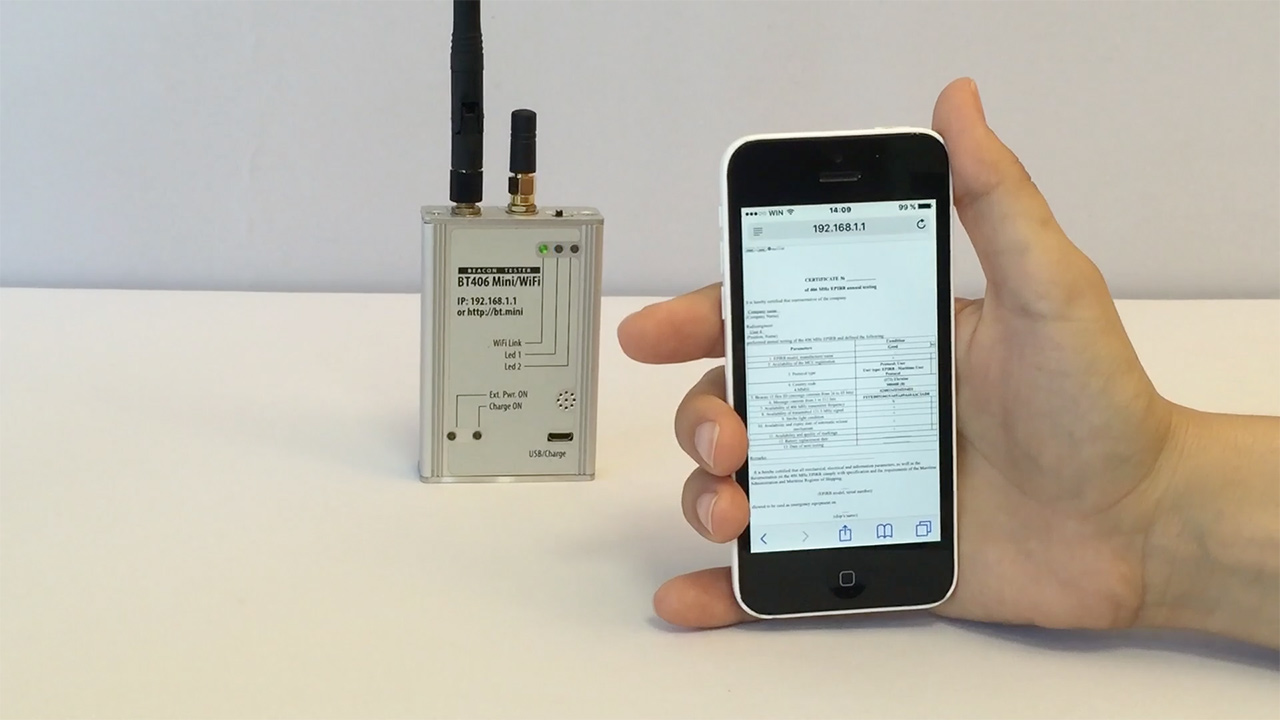
We will print it later.
Final
Hope this manual was useful for you. Thanks for attention.



Be the first to comment